
Transplanting
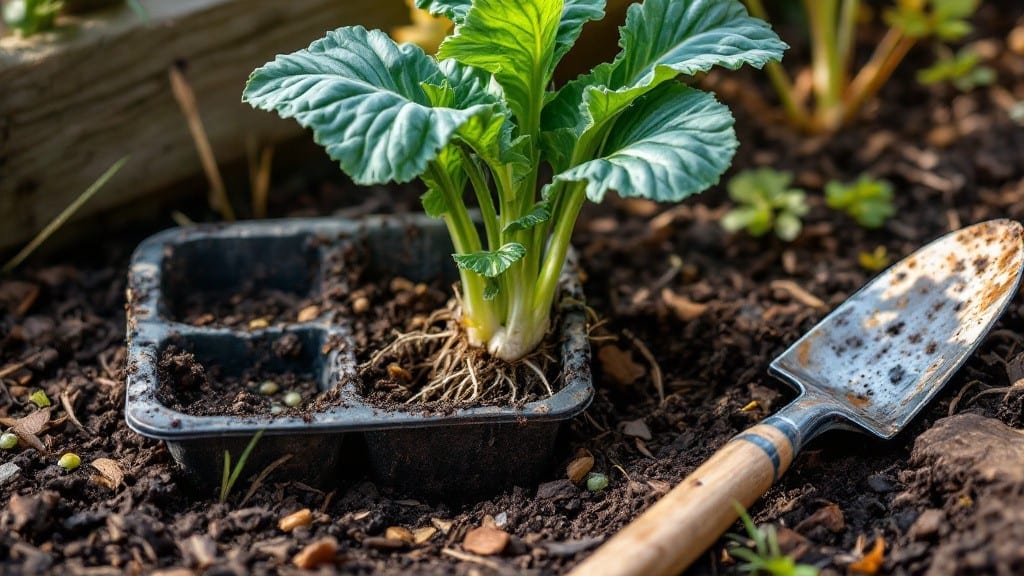
Planting kale seedlings the right way means the difference between a 3-foot-tall plant and one that bolts before you get a single harvest. I’ve learned that skipping hardening off or planting too deep turns those promising little seedlings into sad, stunted survivors instead of thriving powerhouses.
The secret isn’t just throwing them in the ground—it’s giving them the perfect start with strong roots and confidence to handle the great outdoors.
You’ll need a sunny spot with loose, well-draining soil mixed with compost—kale hates soggy feet. A simple soil test (or just digging in a handful of aged manure) makes all the difference. Spacing matters too: give each seedling 12-18 inches of room so they don’t crowd each other out.
And don’t forget to water deeply before planting—dry roots shock just as much as cold temperatures.
After planting, keep the soil consistently moist (not soggy) for the first 2 weeks, and watch those seedlings transform. You’ll see sturdy stems, deep green leaves, and plants that actually want to grow toward the sun.
The best part? Kale planted this way resists pests better and keeps producing through light frosts, giving you harvests well into fall.
Whether you’re transplanting from containers or moving them from a greenhouse, the same rules apply. Just adjust timing for your climate—cool seasons are ideal, but never plant when temps are creeping above 80°F. Here’s how to do it without losing a single seedling to shock or stress.
📚 In This Guide
- What you need
- Instructions
- Tips and common mistakes
- Wrapping up and next steps
What you need
- ● Hardened kale seedlings: 6–12 plants (choose disease-resistant varieties like Winterbor or Lacinato for best results).
- ● Garden soil or potting mix: 1–2 cubic yards (for in-ground planting) or 10–20 gallons (for container gardening). Opt for well-draining, nutrient-rich soil with a pH of 6.0–7.0.
- ● Garden bed or containers: For in-ground: A 12–18-inch-deep bed with full sun (6+ hours/day) or partial shade (especially in hot climates).
- ● For containers: 5-gallon pots or larger (at least 12 inches deep) with drainage holes.
- ● Compost or organic fertilizer: 2–3 cups per plant (or follow package instructions for slow-release options).
- ● Watering can or hose with a gentle spray nozzle: For even moisture without disturbing seedlings.
- ● Garden gloves: To protect your hands while handling soil and plants.
- ● Trowel or transplanting spade: For digging holes and loosening soil.
- ○ Mulch (optional but recommended): Straw, shredded leaves, or wood chips to retain moisture and suppress weeds.
- ● Epsom salt: 1 tablespoon dissolved in water (spray on seedlings to boost magnesium levels).
- ● Plant support (for large varieties): Small stakes or cages to prevent flopping in windy conditions.
- ● Row covers or shade cloth: For young seedlings in hot or cold climates (30–50% shade in summer).
- ● pH test kit: To ensure your soil is in the ideal range for kale.
- ● Plant labels: To track varieties and planting dates (especially useful for multiple types!).
Step-by-Step guide for planting kale seedlings
Here’s how to get your hardened kale seedlings into the ground for a thriving, productive crop.
Prepare the Planting Site
Choose a location with full sun to partial shade—kale tolerates cooler weather better than many greens but still needs at least 4-6 hours of sunlight daily. Work the soil to a depth of 12 inches, removing any weeds or debris. Kale prefers well-draining soil with a slightly acidic to neutral pH (6.0-7.0). If your soil is heavy clay, mix in 2-3 inches of compost to improve texture and fertility.
For raised beds or containers, ensure drainage holes are present and fill with a mix of equal parts potting soil and compost. Kale thrives in loose, nutrient-rich soil that holds moisture without becoming waterlogged. Test the soil moisture by squeezing a handful—it should crumble slightly but not fall apart completely. If it feels too dry, water lightly before planting.
Space Seedlings Correctly
Kale seedlings need 12-18 inches of space between plants to develop strong stems and large, healthy leaves. For a 4-plant harvest, arrange seedlings in a square or rectangular pattern, ensuring each has room to spread. Dig holes just deep enough to accommodate the root ball—planting too deep can suffocate the stem, while planting too shallow leaves roots exposed.
Gently remove each seedling from its container, loosening the roots if they’re tightly bound. Place it in the hole, firming the soil around the base with your fingers. Avoid compacting the soil too tightly, as this can restrict root growth. Water each seedling immediately after planting to settle the soil and eliminate air pockets around the roots.
Mulch and Water for Establishment
Spread 2-3 inches of organic mulch (such as straw or shredded leaves) around each plant, keeping it 2-3 inches away from the stem to prevent rot. Mulch helps retain soil moisture, suppress weeds, and regulate temperature—critical for kale’s slow, steady growth. Water deeply after mulching, providing 1 inch of water per week, either through rainfall or irrigation.
For the first 2 weeks, monitor soil moisture closely. Kale seedlings are sensitive to drought stress, which can cause bitter leaves or stunted growth. Water in the early morning to allow foliage to dry before evening, reducing the risk of fungal diseases. You’ll know your watering is right when the soil feels moist 1-2 inches below the surface but not soggy.
Provide Ongoing Care for Maximum Yield
Kale grows best in cool weather (50-70°F), so if temperatures rise above 80°F, provide afternoon shade to prevent bolting—the plant’s premature flowering. Fertilize lightly every 4-6 weeks with a balanced, organic fertilizer to encourage leaf production. Avoid over-fertilizing, as this can lead to excessive stem growth at the expense of tender leaves.
Harvest outer leaves as needed, cutting just above a set of leaves to encourage continuous growth. This method keeps the plant productive for 6-8 weeks before it begins to bolt. If pests like aphids or cabbage worms appear, treat with neem oil or insecticidal soap—kale is prone to these but responds well to early intervention.
Extend the Harvest Season
To prolong your harvest, succession plant kale every 2-3 weeks in early spring or late summer. This ensures a steady supply of fresh leaves even as seasons change. In colder climates, protect seedlings with row covers or cold frames during frost, as kale can tolerate light freezes down to 20°F. With proper care, your seedlings will mature into a hardy, leafy crop ready for the table.
Watch for signs of stress like yellowing leaves or stunted growth—these often signal overwatering, nutrient deficiency, or pest pressure. Adjust care accordingly, and you’ll enjoy a bountiful, homegrown harvest all season long.
Tips & tricks for planting kale seedlings
A few simple tricks will help your kale seedlings thrive from the moment they hit the soil.
Soil Preparation Tip: In Step 1, when working your soil to a depth of 12 inches, consider adding a handful of wood ash if your soil tests acidic. Kale prefers slightly acidic to neutral pH (6.0-7.0), and wood ash helps raise pH naturally. Just be careful not to overdo it—too much ash can make soil alkaline. I've found that a light sprinkle mixed into the top 6 inches works perfectly.
Transplanting Technique: When handling seedlings in Step 2, focus on the root ball rather than the leaves. Gently squeeze the container sides to loosen roots if they're tightly bound—this prevents transplant shock. I've learned the hard way that forcing seedlings out by their stems can damage them permanently. Watering immediately after planting, as instructed, helps settle the soil and eliminate air pockets that could stress the roots.
Mulching Strategy: For Step 3, choose mulch that matches your climate. Straw works well in most regions, but shredded leaves can work too—just make sure they're disease-free. The key is keeping that 2-3 inch layer 2-3 inches away from the stem to prevent rot. I've noticed that mulch breaks down faster in warm weather, so you might need to top it up after a few weeks, especially if you're in the 70°F range where kale thrives.
Watering Wisdom: During those critical first 2 weeks, I've found that a simple test helps determine if you're watering correctly. Stick your finger 1-2 inches below the surface—if it feels dry, it's time to water. The goal is consistent moisture without soggy soil. Morning watering is crucial because it gives leaves time to dry before evening, reducing fungal risks. I set a reminder on my phone for the first week to ensure I don't skip this important step.
Pro Tips for Planting Kale Seedlings
- A few simple tricks will help your kale seedlings thrive from the moment they hit the soil.
- Soil Preparation Tip: In Step 1, when working your soil to a depth of 12 inches, consider adding a handful of wood ash if your soil tests acidic.
- Transplanting Technique: When handling seedlings in Step 2, focus on the root ball rather than the leaves.
Frequently asked questions
Got questions about planting kale seedlings?
You’re not alone! Here are answers to the most common concerns—from timing to troubleshooting—so you can grow a thriving kale patch with confidence.
When is the best time to plant kale seedlings outdoors?
Plant kale seedlings after the last frost when soil temps are at least 40°F (4°C). For cooler climates, aim for early spring or late summer (6–8 weeks before first frost). Kale tolerates light frost, so don’t rush—wait until seedlings are 3–4 inches tall and soil is workable.
How long does it take for kale seedlings to mature after transplanting?
Kale takes 50–70 days to harvest after transplanting, depending on the variety. Baby leaves (cut-and-come-again) may be ready in 30–40 days. Check seed packets for specific timelines—some heirloom types (like Winterbor) mature slower but store better.
Why are my kale seedlings wilting or turning yellow after planting?
Wilt or yellowing often signals transplant shock (stress from moving) or over/under-watering. Ensure seedlings are watered deeply post-planting and mulch to retain moisture. Yellow lower leaves? Normal! But crispy edges or drooping? Check for pests (aphids, cabbage worms) or poor drainage.
Can I plant kale seedlings too close together?
Yes! Crowded seedlings compete for nutrients and air flow, inviting disease. Space them 12–18 inches apart in rows 24–36 inches apart. For baby kale, you can thin to 6–8 inches. Use a ruler to mark rows—precision pays off!
What’s the best way to protect kale seedlings from pests?
Kale’s a magnet for pests like cabbage worms and fleabeetles. Start with row covers (lightweight fabric) or diatomaceous earth around seedlings. Handpick pests early, and interplant with nasturtiums (natural repellent). Avoid chemical sprays near harvest.
Can I replant kale seedlings if they’re leggy or weak?
Leggy seedlings (tall, thin stems) often mean too little light during hardening. If they’re not wilted or diseased, replant them deeper (cover lower stems with soil) to encourage root growth. Avoid replanting if leaves are yellow or mushy—start fresh with healthy stock.
Wrapping up and next steps
Planting kale seedlings is a rewarding way to grow a nutrient-packed, cold-hardy crop that thrives with minimal fuss! 🌱 By choosing hardened transplants, spacing them properly, and giving them the right soil and care, you’ll soon enjoy a bountiful harvest of crisp, flavorful leaves.
Whether you’re a beginner or a seasoned gardener, these steps make success simple—and delicious.
Ready to dig in? Your next step: Mark your calendar for transplanting (aim for early spring or late summer) and gather your supplies. Then, roll up your sleeves—your garden (and taste buds!) will thank you.