
Picking
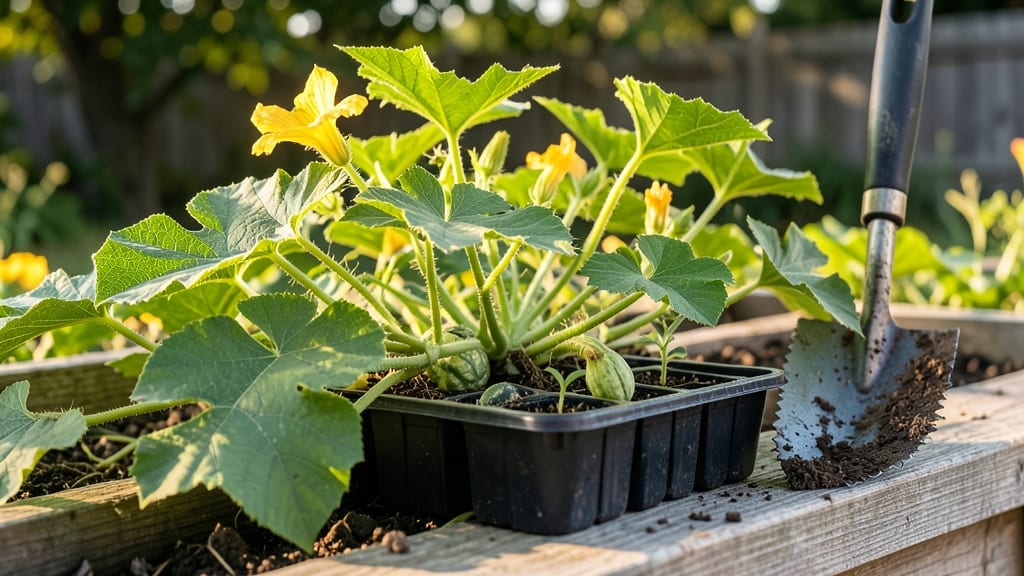
Planting Hubbard squash this spring? The right spacing makes all the difference—my first crop doubled in yield just by adjusting the hill size. These squash need room to sprawl, and crowding turns lumpy harvests into tangled messes.
I’ll show you exactly how to space them for maximum growth without wasting garden space.
Start with well-drained soil rich in compost—Hubbards hate soggy roots. Plant seeds 1 inch deep in hills spaced 3–4 feet apart, with 3–4 seeds per hill.
Thin to the strongest plant once they’re 4 inches tall. The key is patience: these vines grow fast, and proper spacing keeps them from competing for nutrients.
You’ll see those first glossy green leaves in 2–3 weeks, followed by 3–5 pound squash by late summer. The trick to big yields? Consistent watering—1–2 inches per week—and mulching to keep roots cool. Avoid common mistakes like planting too early or ignoring the hills entirely.
Works in zones 3–10, though heat lovers thrive in warmer climates. For small spaces, try container growing with larger pots. Ready to grow squash that’ll impress your neighbors? Let’s get those seeds in the ground!
📚 In This Guide
- What you need
- Instructions
- Tips and common mistakes
- Wrapping up and next steps
What you need
- ● Hubbard Squash Seeds: 3–5 seeds per hill (or 1–2 seeds per plant if transplanting seedlings). Opt for heirloom varieties like Blue Hubbard or Gold Rush for flavor and size.
- ● Well-Draining Soil: Hubbard squash thrives in loamy, fertile soil with a pH of 6.0–7.0. Mix in 2–3 inches of compost or aged manure before planting.
- ● Fertilizer: Balanced fertilizer (10-10-10): 1–2 tablespoons per planting hole.
- ● Organic options: Fish emulsion or worm castings (follow package instructions).
- ● Watering Can or Hose: With a gentle spray nozzle to avoid disturbing seedlings.
- ● Mulch: Straw or shredded leaves (2–3 inches thick) to retain moisture and suppress weeds.
- ● Row Cover or Frost Cloth: For early planting in cooler climates (🌡️ 50°F/10°C minimum).
- ● Trellis or Cage: If growing bush-type hubbards (though most varieties sprawl).
- ● Pruning Shears: For trimming vines if they overrun your space.
- ● Soil Thermometer: To ensure soil is 60°F/15°C+ before planting (hubbards hate cold!).
- ● Garden Gloves: For handling prickly vines or weeding comfortably.
Step-by-Step instructions for planting Hubbard squash
Here's how I've learned to plant these heavyweights for bountiful harvests—no wasted space or energy.
Prepare the Soil for Optimal Growth
Hubbard squash thrives in rich, well-draining soil with a pH between 6.0 and 7.0. Before planting, work 2-3 inches of compost into the top 12 inches of soil to improve fertility and drainage. I always test my soil first—these squash are heavy feeders and won't tolerate poor conditions. If your soil is clay-heavy, mix in 1 part sand or perlite to prevent root rot.
The key here is warmth. Hubbard squash germinates best in soil that's at least 60°F. If planting in early spring, use black plastic mulch to warm the soil faster. Spread it over the bed a week before planting—this also suppresses weeds and retains moisture. Avoid fresh manure; it can burn young roots and attract pests.
Plant Seeds at the Right Depth and Spacing
Sow seeds 1 inch deep and 4-6 inches apart in rows spaced 5-6 feet apart. Yes, that's a lot of space—Hubbard squash vines spread aggressively and need room to sprawl. Plant 3-4 seeds per hill (a small mound of soil) to ensure at least one strong plant per spot. After germination, thin to the strongest seedling, cutting weaker stems at the base rather than pulling to avoid disturbing roots.
Here's the trick I've found works best: plant seeds in small hills rather than flat soil. This improves drainage and prevents water from pooling around the stems, which can cause rot. Water the hills thoroughly before planting, then cover seeds with soil and press lightly to ensure good seed-to-soil contact. Keep the soil consistently moist but not soggy until germination, which typically takes 7-14 days depending on temperature.
Thin Seedlings and Train Vines for Maximum Yield
Once seedlings reach 2 inches tall, thin to the strongest plant per hill. Use sharp scissors to snip unwanted stems at soil level—this prevents disease spread that can occur with pulling. The remaining plant should have 3-4 true leaves and a sturdy stem. At this stage, I also begin training vines by gently guiding them toward a trellis or sturdy fence if space is limited. Hubbard squash can grow 10-15 feet long, so providing support early saves headaches later.
Watch for first female flowers, which appear 45-55 days after planting. These look different from male flowers—they have tiny squash forming at the base. Hand-pollinate by transferring pollen with a small brush if bees are scarce. Once fruit forms, space them 12-18 inches apart on the vine to prevent overcrowding, which leads to misshapen squash and disease.
Maintain Soil and Water for Heavy Fruit Production
Hubbard squash needs 1-2 inches of water per week, delivered at the base of the plant. I water deeply 2-3 times per week, early in the morning to reduce fungal risks. Use a soaker hose to keep leaves dry—wet foliage invites powdery mildew. Mulch with 2-3 inches of straw or shredded leaves to retain moisture and suppress weeds. Avoid organic mulches like grass clippings, which can draw pests.
Fertilize 2-3 weeks after thinning with a balanced organic fertilizer (10-10-10 ratio). Side-dress again when vines begin flowering. I've found that compost tea applied every 2-3 weeks boosts yields without burning plants. Monitor for yellowing leaves—this often signals nitrogen deficiency or overwatering. Adjust care accordingly, but never let the soil dry out completely once fruit forms.
Harvest at Peak Ripeness for Best Flavor
Hubbard squash is ready to harvest when the rind is hard and difficult to puncture with a fingernail, and the stem has turned brown and woody. This typically occurs 90-110 days after planting, depending on variety. Use a sharp knife to cut stems, leaving 1-2 inches of stem attached to the squash. Handle fruit carefully—bruises invite rot.
Store harvested squash in a cool, dry place (around 50-55°F) where they'll keep for 2-3 months. If frost threatens before harvest, cover plants with row fabric or bring them indoors temporarily. Never store squash in the refrigerator—cold temperatures break down the fruit's natural sugars, making them mealy and bland. With proper care, you'll get 4-6 squash per plant, each weighing 10-20 pounds.
Tips & tricks for perfect Hubbard squash planting
These proven strategies will help you maximize yield and avoid common pitfalls when growing these heavyweight squash varieties.
Soil Temperature Timing: The 60°F soil temperature threshold in Step 1 is critical for germination. Use a soil thermometer to verify warmth before planting—cold soil delays sprouting and increases susceptibility to rot. If your spring is unusually cool, consider using a cold frame or row covers to maintain consistent warmth until seeds germinate. I've seen germination times stretch to 21 days when soil stays below 55°F, so don't rush the process.
Hill Planting Technique: Creating those small hills in Step 2 serves multiple purposes beyond drainage. The elevated position helps prevent water pooling around stems, which is particularly important after those 2-3 inches of weekly watering. For even better results, I recommend adding a handful of compost to each hill at planting time—this localized fertility boost gives seedlings an immediate nutrient advantage without overwhelming them.
Vine Training Strategy: When you begin training vines in Step 3 toward trellises or fences, use soft garden twine rather than wire. The vines can grow up to 15 feet long, and harsh materials can damage the tender stems during their rapid growth phase. Start training early—once vines reach 2 feet tall, they become more difficult to manipulate without risking breakage. This early support also prevents the heavy fruit from pulling plants off balance later in the season.
Pollination Assistance: The 45-55 day window for female flowers in Step 3 can be tricky when bees are scarce. I've found that hand-pollination works best in the early morning when flowers are fully open. Use a small paintbrush to transfer pollen from male flowers (which have long stems and no fruit at the base) to female flowers (which have tiny squash forming). This simple step can double your yield if natural pollinators are absent during critical periods.
Pro Tips for Planting Hubbard Squash
- These proven strategies will help you maximize yield and avoid common pitfalls when growing these heavyweight squash varieties.
- Soil Temperature Timing: The 60°F soil temperature threshold in Step 1 is critical for germination.
- Hill Planting Technique: Creating those small hills in Step 2 serves multiple purposes beyond drainage.
Frequently asked questions
Got questions about planting Hubbard squash?
You’re not alone! Here are answers to the most common concerns—from timing to troubleshooting—to help you grow a bountiful harvest.
When is the best time to plant Hubbard squash?
Hubbard squash thrives in warm soil, so wait until after the last frost when soil temps reach at least 60–65°F (15–18°C). Direct-sow seeds 2–3 weeks after your last frost date—or start indoors 3–4 weeks before transplanting in cooler climates. They’re sensitive to cold, so patience pays off!
How far apart should I space Hubbard squash plants?
Give each plant 3–4 feet of space in all directions (or 5–6 feet if you want extra-large squash!). They spread widely and need room to avoid competition. Pro tip: Use a raised bed or hill method to improve airflow and reduce disease risk.
What can I plant near Hubbard squash to improve growth?
Hubbard squash loves companion plants that deter pests or improve soil. Try:
- Nasturtiums (repel squash bugs)
- Marigolds (deter beetles)
- Beans or peas (fix nitrogen in the soil)
Why are my Hubbard squash flowers falling off before fruiting?
This usually means inconsistent pollination or stress. Try these fixes:
- Hand-pollinate by gently shaking plants or using a paintbrush to transfer pollen.
- Ensure plenty of water (drought stress causes drop-off).
- Check for pests (squash vine borers) or disease (powdery mildew).
Can I grow Hubbard squash in containers, or do I need a garden bed?
Yes! Hubbard squash can thrive in large containers (at least 15–20 gallons per plant) with drainage holes. Use a lightweight potting mix and place containers in full sun. Warning: Vines will sprawl—consider a trellis or cage to save space.
Wrapping up and next steps
Growing hubbard squash is a rewarding journey that combines patience, care, and a little strategic spacing! With the right techniques—like proper plant spacing, companion planting, and seasonal timing—you’ll soon be harvesting bountiful, beautiful squash to enjoy fresh, preserve, or share. 🌱✨
Ready to take the next step? Start by marking your garden beds this weekend and plant your seeds or seedlings with confidence. Before you know it, your kitchen will be filled with the rich, nutty flavor of homegrown hubbard squash—worth every effort!