Container Gardens
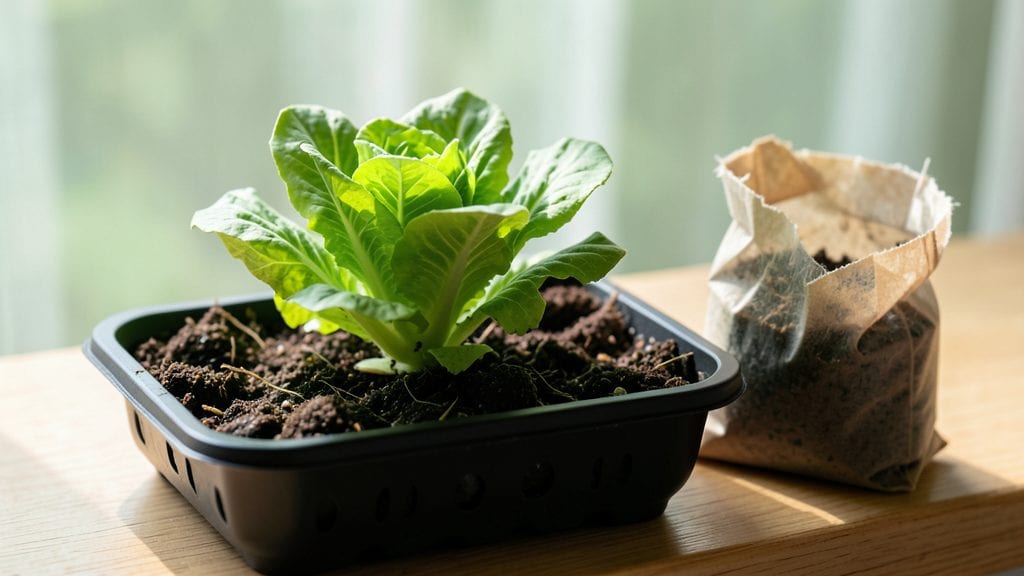
Planting sprouts indoors is the fastest way to turn a windowsill into a sunlit harvest. ✨ I’ve grown microgreens so fast they’ve gone from seed to plate in less than a week—crisp, vibrant, and packed with flavor.
The secret isn’t fancy equipment; it’s understanding how these tiny plants thrive in shallow trays with just the right balance of moisture and light.
You’ll need a shallow container, some organic seeds, a spray bottle, and a sunny spot (or a grow light). Most people overwater, which leads to mold, but a quick rinse twice a day keeps things fresh.
My favorite sprouts for beginners are broccoli, radish, or pea shoots—they’re hard to kill and burst with color in days.
By day 7, you’ll be harvesting tender greens that taste like nothing from the store. The first batch is always the most exciting—snipping those bright stems with your fingers, feeling the crunch between your teeth. Plus, you’ll save money and avoid the plastic packaging that usually comes with store-bought sprouts.
This method works year-round, whether you’re in a tiny apartment or a house with limited outdoor space. Once you try it, you’ll wonder why you ever bought sprouts from the grocery store. Ready to grow your own?
📚 In This Guide
- What you need
- Instructions
- Tips and common mistakes
- Wrapping up and next steps
What you need
- ● Sprouting seeds: Choose from alfalfa, broccoli, radish, lentils, or mung beans (1–2 tbsp per batch). Opt for orgainc or non-GMO seeds for best results.
- ● Sprouting container: A glass jar (16–32 oz) with a mesh lid (or a clean, breathable cloth + rubber band)
- ● OR a dedicated sprouting tray (with drainage holes)
- ● Organic sprouting lid or fine mesh: Ensures airflow while keeping seeds contained (e.g., sprouting lids, cheesecloth, or a coffee filter).
- ● Water: Room-temperature, filtered water (chlorine-free for best growth).
- ● Colander or strainer: For rinsing (stainless steel preferred).
- ● Paper towels or sprouting mat: 2–3 sheets to line your container (unbleached, organic preferred).
- ● Small bowl or plate: For draining excess water.
- ● Grow light or LED bulb: If natural light is limited (full-spectrum, 12–16 hours/day).
- ● Humidity dome: Speeds up germination in dry climates.
- ● Food processor or blender: For crushing seeds (e.g., sunflower or pumpkin) into sprouted seed butter.
- ● Label maker or sticky notes: To track seed types and planting dates.
- ● Spray bottle: For gentle misting (if seeds dry out between rinses).
Step-by-step instructions for growing sprouts indoors
Here's how to grow nutrient-packed microgreens in just a week with minimal space.
🌱 Step 1: Choose and Prepare Your Sprouting Container
Start with a shallow container that holds at least 4 cups of seeds—a 9x13-inch baking dish or a repurposed takeout container works perfectly. Make sure it has drainage holes or place a layer of paper towels at the bottom if it doesn't. You'll want the container to be about 1-2 inches deep for optimal root growth.
Line the bottom with a single layer of paper towels or a clean kitchen towel. Soak the towels with warm water until damp but not dripping. This creates the perfect moisture environment for sprouts to germinate quickly. I like to use a spray bottle to mist the towels evenly—this prevents waterlogging, which can cause mold.
🌱 Step 2: Plant the Seeds Evenly
Spread the seeds evenly across the damp towel, leaving about ½ inch of space between them. Press them gently but firmly into the towel so they make good contact. If you're using larger seeds like peas or sunflower, you can plant them slightly closer together—about ¼ inch apart. For tiny seeds like radish or broccoli, a light sprinkle works best.
Cover the container with another layer of damp paper towels or a clean cloth. This keeps the seeds in a humid environment, which speeds up germination. Place the container in a warm spot, like on top of the fridge or near a sunny window. You should see tiny sprouts within 24-48 hours. Here's the thing—don't move the container once you've planted the seeds. Consistency is key for even germination.
💧 Step 3: Rinse and Drain Daily
Once the sprouts reach about ½ inch tall, usually within 3-4 days, it's time to start rinsing them. Fill a large bowl or sink with lukewarm water and place the container in it. Gently swirl the water around to rinse away any seed casings or debris. This keeps your sprouts clean and prevents mold from forming.
After rinsing, drain the container thoroughly. I like to tip it upside down in a colander for a few minutes to let excess water drip out completely. Place the container back in a bright spot, but avoid direct sunlight for the first day or two—it can scorch the delicate sprouts. You'll notice the stems will start to straighten and the leaves will open up as they grow.
☀️ Step 4: Introduce Light and Maintain Growth
After the first few days, move your container to a spot with bright, indirect light. A south-facing window or a grow light placed 6-12 inches above the sprouts works well. You'll see the sprouts grow faster when they get plenty of light—watch for vibrant green color and sturdy stems. If your sprouts start to lean toward the light, rotate the container daily to keep them growing straight.
Continue rinsing and draining your sprouts once or twice daily. This keeps them fresh and prevents bacteria from growing. You'll know they're ready to harvest when the first true leaves appear, usually around 7-10 days. The leaves should be about 1-2 inches tall and fully unfurled. Don't wait too long—they'll get tough and bitter if left too long.
✂️ Step 5: Harvest and Store Your Microgreens
To harvest, simply snip the sprouts just above the soil line with clean scissors. You'll get about 4 servings from one container, depending on the type of seed you used. Rinse them one last time in cold water to remove any debris, then pat them dry gently with a paper towel. This ensures they stay crisp and fresh.
Store your microgreens in an airtight container in the fridge for up to 5-7 days. For best flavor and texture, use them within a few days. I like to add them to salads, sandwiches, or even blend them into smoothies for a nutrient boost. Real talk: they're way more flavorful than store-bought baby greens, and you'll never want to buy them again.
Tips & tricks for perfect sunlight-fed microgreens
A few simple tricks will help you avoid common pitfalls and grow the freshest microgreens indoors.
Germination Speed: The 24-48 hour window for initial sprouting is crucial—don't rush it! Place your container in a warm spot like on top of your fridge or near a sunny window. If your kitchen is particularly cool, you might see sprouts in 48 hours instead of 24. Just be patient—they'll catch up quickly once they start growing!
Light Positioning: After the first few days, move your sprouts to bright, indirect light. I've learned the hard way that direct sunlight can scorch delicate sprouts—especially during those first critical days. A south-facing window or a grow light placed 6-12 inches above works best. If your sprouts start leaning, rotate the container daily to keep them growing straight up.
Rinsing Technique: When you reach the rinsing stage (around day 3-4), use lukewarm water—not cold—to prevent shocking the delicate sprouts. After rinsing, drain thoroughly by tipping the container upside down in a colander. This step prevents mold and keeps your sprouts fresh. I've found that using a spray bottle for rinsing gives the most even coverage without over-saturating.
Harvesting Timing: The 7-10 day window for harvesting is perfect for tender microgreens. Wait until you see the first true leaves appear—about 1-2 inches tall. Harvesting too early means less flavor, while waiting too long makes them bitter. I like to harvest in the morning when they're at their crispest. Use clean scissors to snip just above the soil line for the cleanest cut.
Pro Tips for Planting Sprouts Indoors
- A few simple tricks will help you avoid common pitfalls and grow the freshest microgreens indoors.
- Germination Speed: The 24-48 hour window for initial sprouting is crucial—don't rush it!
- Light Positioning: After the first few days, move your sprouts to bright, indirect light.
Frequently asked questions
Got questions about growing your own sprouts indoors? You’re not alone! Here are some of the most common queries—and their easy, actionable answers to help you sprout like a pro.
How long do sprouts take to grow indoors?
Most sprouts are ready in just 3–7 days! Fast growers like radish or broccoli sprout in 3–4 days, while slower varieties (e.g., sunflower) may take up to a week. Check for 1–3 inch sprouts with vibrant leaves—harvest before they yellow or bolt for peak flavor and nutrition.
Do I need sunlight for indoor sprouts?
Yes, but don’t stress—indirect light works! Place your sprouting jar near a bright window (south-facing is ideal) or use a grow light for 6–8 hours daily. Avoid direct sun to prevent overheating. If leaves look pale, they’re begging for more light!
How often should I rinse my sprouts?
Rinse 2–3 times daily for the first 3–4 days to keep them moist and mold-free. After that, switch to 1–2 rinses/day until harvest. Use a fine-mesh strainer and room-temperature water. Drain thoroughly to prevent soggy sprouts—no one likes a waterlogged snack!
Can I eat sprouts straight from the jar?
Not without a thorough rinse and dry! Rinse sprouts in cool water, then pat dry with a clean towel or salad spinner. Store in an airtight container in the fridge for up to 5–7 days. Pro tip: Soak in vinegar water (1:3 ratio) for 10 mins to kill any lingering bacteria.
Why are my sprouts moldy?
Mold is a common rookie mistake—usually from overcrowding, poor drainage, or warm/humid conditions. Fix it fast: Discard moldy batches immediately (never eat moldy sprouts!). Next time, rinse more often, use clean jars, and ensure good airflow. A paper towel liner in the jar can also help!
What’s the easiest sprout to grow for beginners?
Start with alfalfa, radish, or broccoli—they’re fast, forgiving, and packed with flavor. Alfalfa sprouts in 4–5 days and has a mild, nutty taste, while radish sprouts add a peppery kick in just 3 days. Avoid clover or lentils first—they’re trickier for newbies.
Wrapping up and next steps
Growing sprouts indoors isn’t just a rewarding hobby—it’s a nutrient-packed, space-saving powerhouse that brings freshness to your plate in just 7 days! Whether you’re a beginner or a seasoned green thumb, these microgreens deliver flavor, vitamins, and a sense of accomplishment with minimal effort. 🌱
Now that you’re equipped with the know-how, why not start your first batch today? Pick your favorite sprouts, grab your supplies, and enjoy the process—your taste buds (and health) will thank you! Happy sprouting! 🌿