Pruning
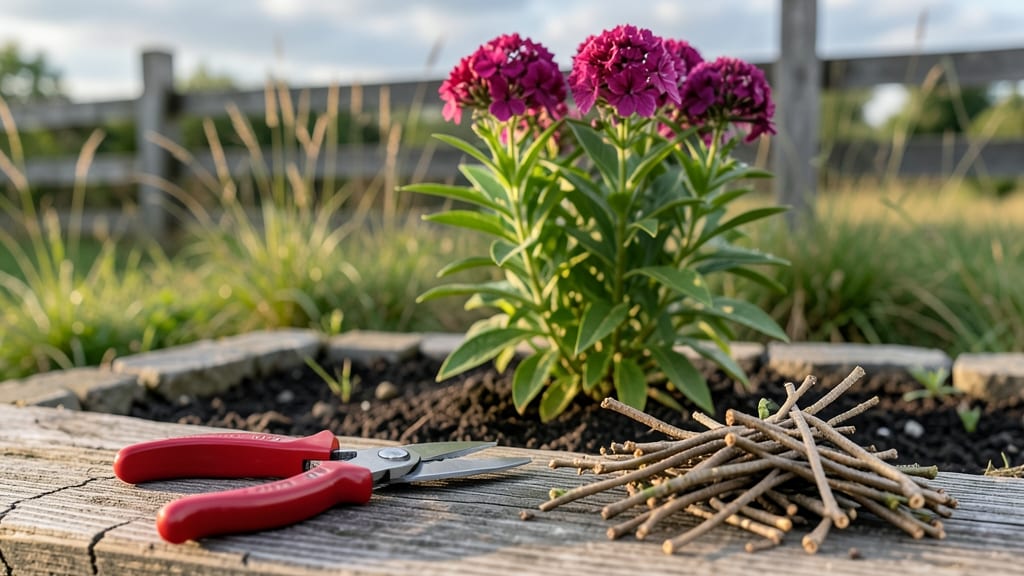
Pruning phlox plants in early spring transforms last year’s ragged stems into a bushy, blooming powerhouse—I’ve revived even the most neglected clumps with just four strategic cuts. The key isn’t trimming for looks but encouraging fresh growth where flowers will form.
Most gardeners wait too long, missing the perfect window when new shoots are just waking up. That first flush of bright green leaves? That’s your signal to act.
You’ll need sharp bypass pruners (dull blades crush stems) and a small bucket for clippings—no fancy tools, just clean cuts. Start by removing any dead or woody stems at the base, then cut back the remaining stems by about one-third.
That might sound aggressive, but phlox rewards boldness. The goal is to shape the plant so light and air reach the center, where future blooms will thrive. Think of it like giving your phlox a haircut that reveals its best features.
Within weeks, you’ll see a thicket of new growth that’ll burst into color by early summer. The secret’s in the timing: prune too early, and you’ll cut back tender new shoots; too late, and you’ll sacrifice next year’s blooms.
But get it right, and you’ll enjoy longer, fuller blooms that keep coming back all season. The best part? That first wave of flowers will smell like a cottage garden in full swing.
This method works for both garden phlox and creeping phlox, though the latter needs a lighter touch. For container phlox, prune just after the first flush of blooms to extend the season. The only rule?
Never skip post-pruning care—water deeply after cutting and add a light fertilizer to fuel that new growth. Your phlox will thank you with vibrant blooms that turn heads at the neighborhood garden tour.
📚 In This Guide
- What you need
- Instructions
- Tips and common mistakes
- Wrapping up and next steps
What you need
- ● Sharp, clean pruning shears – Bypass pruners (4-6 inch blades) for precision cuts on stems up to ½ inch thick.
- ● Hand pruners or loppers – For thicker stems (½ inch or larger) or if your phlox is mature.
- ● Disinfectant (70% isopropyl alcohol or bleach solution) – 1 part bleach to 9 parts water to sterilize tools between cuts and prevent disease.
- ● Garden gloves – Nitrile or leather to protect hands from thorns or sap.
- ○ Garden twine or plant ties – Optional but helpful for securing stems if pruning in windy conditions.
- ● Compost or mulch – To replenish soil after pruning (1-2 inches of organic matter).
- ● Watering can or hose – For post-pruning hydration.
- ● Rubbing alcohol wipes – For quick tool sanitization between cuts.
- ○ Marking spray (optional) – Non-toxic paint to label stems if you’re experimenting with staggered pruning.
- ● Knee pad or small stool – For comfort if your phlox is ground-level or tall.
- ● Trash bag or bucket – To collect pruned stems for composting or disposal.
Instructions for pruning phlox plants: spring revival in 4 simple cuts
Here’s the straightforward method I use every spring to keep phlox blooming bigger and healthier—no guesswork, just clean cuts.
Time Your Pruning for Peak Health
Wait until after your last frost date but before new growth appears—typically late March to early April in most zones. You’ll know it’s time when the ground thaws and the first bright green shoots poke through the soil. Pruning too early risks cutting back fresh growth, while waiting too long lets dead stems collect pests.
Grab your sharp pruners and inspect the plant. Look for woody, brown stems that feel dry and crisp—these are last year’s growth. Healthy stems will still have some green at the base. Never prune when the plant is wet, as this can spread disease.
Cut Back Dead and Weak Stems to the Crown
Using your pruners, slice cleanly just above a bud or leaf node on each dead stem. Aim for 1-2 inches above the ground if the entire stem is brown and brittle. This encourages fresh, vigorous growth from the base. If you see any mushy or discolored stems, cut those back further—they’re likely diseased.
I like to make one decisive cut per stem rather than hacking. This prevents jagged edges that can invite rot. Remove all debris immediately to keep your garden tidy and pest-free. You’ll notice the plant looks stark at first, but trust the process—new shoots will emerge within 2-3 weeks.
Thin Out Crowded Stems for Better Airflow
Now focus on the remaining healthy stems. Phlox can get leggy, so thin out one-third of the oldest, thinnest stems at the base. This improves airflow, reducing humidity and fungal risks. Cut these stems flush with the ground—no need to leave stubs. You’ll see clusters of 3-5 strong stems left standing, which will produce the most flowers.
If your phlox is particularly bushy, you can even shape it lightly by trimming the outer stems slightly shorter than the center ones. This creates a natural, rounded form. Just avoid shearing—phlox blooms on new wood, so precision cuts work best.
Apply a Light Fertilizer After Pruning
Once you’ve finished cutting, water the base deeply to help the plant recover. Then, sprinkle a balanced, slow-release fertilizer (like 10-10-10) around the perimeter, 2-3 inches from the stems. This gives your phlox the nutrients it needs to rebound quickly. Avoid over-fertilizing—too much can burn new growth.
Within 4-6 weeks, you’ll see new shoots with bright green leaves pushing through. This is your signal that the pruning worked! Keep an eye out for buds forming—these will turn into your summer blooms. Mulch lightly with 2-3 inches of organic mulch to retain moisture and suppress weeds.
Monitor and Prune Again Mid-Season
About 6-8 weeks after your first pruning, check for spent blooms. When flowers fade, deadhead them by cutting back to the first set of healthy leaves. This redirects the plant’s energy into more flowers rather than seed production. You’ll notice new buds forming within 1-2 weeks of this second trim.
If your phlox starts to look leggy again, give it a light trim to encourage bushier growth. Just avoid cutting into old wood—always prune above a leaf node. By following these steps, your phlox will stay compact, healthy, and bursting with color all season long.
Tips & tricks for perfect phlox pruning
These game-changing tips will ensure your phlox stays healthy and vibrant all season—no gardening degree required!
Timing is Everything: The window between late March and early April is your sweet spot, but don't stress if you miss it. If you prune too early, you'll cut back tender new growth that's just starting to emerge. If you wait too long, those dead stems become a pest magnet. I've learned the hard way—always check for those bright green shoots before cutting!
Precision Cuts Prevent Problems: When you're making those clean cuts in Step 2, aim for just above a bud or leaf node—this is where new growth will sprout. I used to make uneven cuts, which left my plants looking ragged. Now I focus on making one clean slice per stem, always at a 45-degree angle if possible. This keeps the plant looking tidy while promoting healthy regrowth within those magical 2-3 weeks.
Don't Over-Thin: In Step 3, when you're thinning out those crowded stems, remember that phlox needs some thickness to support its blooms. I've made the mistake of removing too many stems, which left my plants looking sparse. Aim for keeping 3-5 strong stems—this gives you the perfect balance of airflow and flower production. You'll be rewarded with those lush summer blooms you're dreaming of!
Fertilizer Timing Matters: After you've finished pruning and watered deeply, that balanced fertilizer application in Step 4 is crucial—but don't overdo it! I've seen too many gardeners burn their plants by using too much fertilizer too soon. Stick to that 2-3 inch perimeter application and wait those 4-6 weeks before expecting new shoots. Patience pays off with those bright green leaves that signal your pruning worked!
Pro Tips for Pruning Phlox Plants
- These game-changing tips will ensure your phlox stays healthy and vibrant all season—no gardening degree required!
- Timing is Everything: The window between late March and early April is your sweet spot, but don't stress if you miss ...
- Precision Cuts Prevent Problems: When you're making those clean cuts in Step 2, aim for just above a bud or leaf node...
Frequently asked questions
Got questions about pruning your phlox? You’re not alone—this classic garden task can feel tricky! Here are answers to the most common concerns, so you can confidently shape your blooms without stress.
When is the best time to prune phlox?
Prune after flowering (late summer to early fall) for perennial phlox, or in early spring (before new growth) for a cleaner look. Avoid cutting back in winter—frost can damage tender stems. For garden phlox, a post-bloom trim keeps them bushy and encourages next year’s flowers!
How much should I cut back phlox?
For most varieties, trim one-third of the plant’s height—about 3–6 inches above the ground. Leave a few inches of stems for support if your phlox is leggy. Never cut into woody stems; focus on the green, flexible growth. Over-pruning can stress the plant and reduce blooms.
What if my phlox looks sad after pruning?
Don’t panic! Yellow leaves or wilted stems are normal right after pruning. Water deeply and fertilize lightly with balanced 10-10-10 to help recovery. If the plant stays limp for weeks, check for pests (like aphids) or root rot. A mulch layer (2–3 inches) keeps moisture and protects roots.
Can I prune phlox in the fall and spring?
Yes! Lightly trim dead or damaged stems in late fall (after frost), then do a heavier prune in early spring (before buds swell). This two-step approach keeps phlox tidy year-round. Just avoid heavy cuts in winter—they expose tender growth to cold.
What if my phlox doesn’t bloom after pruning?
Poor blooms often mean over-pruning or nutrient deficiency. Try this: Cut back less aggressively next time, and feed with phosphorus-rich fertilizer (like 5-10-5) in early spring. Also, ensure your phlox gets 6+ hours of sun—shady spots reduce flowering.
Are there alternatives to pruning phlox?
If pruning feels overwhelming, try deadheading (snipping spent blooms) to encourage more flowers. For wild or naturalized phlox, skip pruning entirely—let it grow freely! Just remove only the dead foliage in spring. Mulching heavily (with compost or straw) also suppresses weeds and retains moisture.
Wrapping up and next steps
Pruning your phlox plants doesn’t have to be intimidating—just a few strategic cuts can transform them into vibrant, bushy bloomers! 🌸 Whether you’re tackling dead stems, shaping growth, or encouraging fuller flowers, the key is timing, technique, and confidence.
With these 4 simple steps, your phlox will reward you with lush, long-lasting blooms all season.
Now that you’re armed with the know-how, grab those shears and get pruning! 🌿 For extra flair, consider dividing mature clumps or experimenting with deadheading for continuous color. Happy gardening—your phlox are about to shine brighter than ever!