Propagation
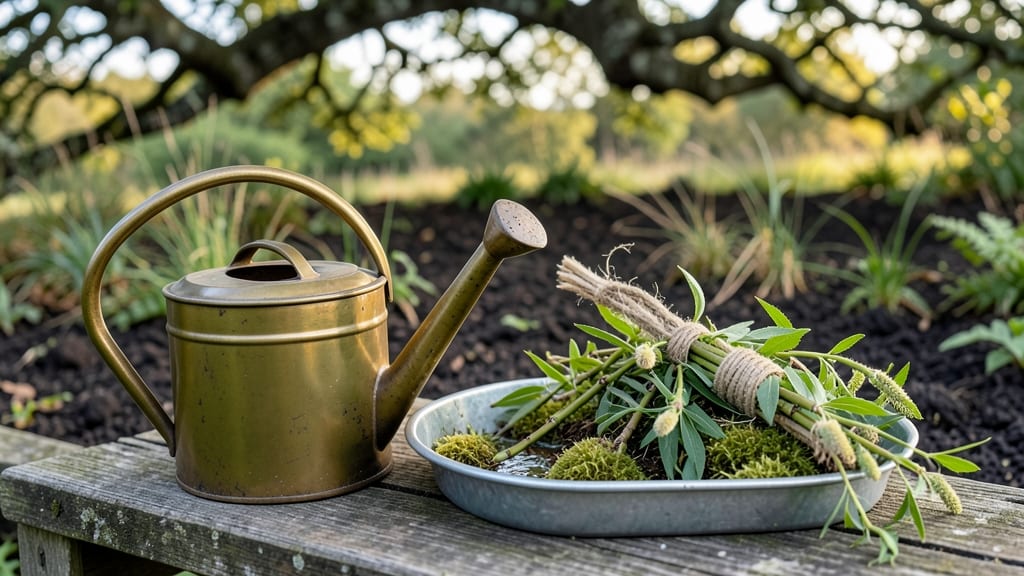
Planting willow cuttings in water first is the secret weapon behind my fastest-growing willow trees—no fancy equipment needed. 🌱 The right timing, a clean cut, and a glass of water are all it takes to turn a simple branch into a thriving plant within weeks.
I’ve rooted dozens this way, and the method works for weeping willows, pussy willows, or any willow variety you can find outside.
The magic happens in 3 simple steps: take 4- to 6-inch cuttings in late winter or early spring, strip the lower leaves, and place them in water with just the bottom inch submerged.
Change the water every 2-3 days to keep it fresh, and within 2-4 weeks, you’ll see roots forming—proof that willows are the easiest plants to propagate. No soil, no stress, just pure growth.
Once those roots reach 2-3 inches, you’re ready to plant in moist soil. The transition is smooth if you harden off the cuttings first—just move them to partial shade for a few days before burying them 2 inches deep in well-drained soil.
By summer, you’ll have a lush, fast-growing tree that outpaces anything you’d buy at a nursery.
This method works year-round in mild climates, but spring planting gives you the best head start. If you’re in a colder zone, wait until after the last frost—willows hate cold feet. Troubleshooting? Yellow leaves?
Too much sun. Slow growth? Not enough water. But with this approach, you’ll avoid the most common pitfalls and end up with a willow that grows 3-5 feet in its first year.
📚 In This Guide
- What you need
- Instructions
- Tips and common mistakes
- Wrapping up and next steps
What you need
- ● Willow cuttings: 4–6 healthy, pencil-thick stems (12–18 inches long), harvested in late winter or early spring (before bud break). Choose from weeping willow (Salix babylonica), pussy willow (Salix discolor), or crack willow (Salix fragilis).
- ● Clean water: A large container (e.g., bucket or vase) with at least 6–8 inches of water—tap water is fine, but avoid chlorine if possible (let it sit out for 24 hours first).
- ○ Rooting hormone (optional but helpful): A small bottle of willow-specific or general-purpose rooting gel/powder (e.g., Clonex or Dip ‘N Grow).
- ● Pruning shears or sharp knife: Sterilized to prevent disease (rubbing alcohol wipe works!).
- ● Newspaper or paper towels: For wrapping cuttings to keep them moist during transport.
- ● Soil (for transplanting): A mix of 60% potting soil + 40% perlite/sand (well-draining is key!).
- ● Garden pot or nursery container: At least 6–8 inches deep with drainage holes.
- ● Fertilizer: A balanced liquid fertilizer (10-10-10) to boost growth after roots form.
- ● Plastic bag or humidity dome: To create a mini greenhouse effect while roots establish.
- ● Stakes or support: For weeping varieties to prevent flopping as they grow.
- ● pH testing kit: To ensure your water/soil is slightly acidic (6.0–7.0)—willows love it!
Step-by-Step instructions for planting willow cuttings
Here's how to grow lush willow trees from cuttings—no fancy tools needed.
🌱 Step 1: Collect and Prepare Willow Cuttings
Gather 4-6 foot long willow branches in late winter or early spring when the tree is still dormant. Look for pencil-thick shoots with smooth, flexible stems—these root best. Use clean, sharp pruners to cut just below a node (the little bump where leaves would grow). Strip off any leaves to reduce moisture loss and prevent disease.
Here's the thing—willow cuttings root best when fresh. If you can't plant them immediately, store them in a cool, damp place (like a plastic bag with a damp paper towel) for up to a week. Never let them dry out completely, or they'll lose their ability to root.
💧 Step 2: Root Cuttings in Water First
Place each cutting in a clean glass jar filled with room-temperature water—just enough to cover the bottom 2-3 inches of the stem. Change the water every 3-4 days to prevent bacterial growth and keep it fresh. Set the jars in a spot with bright, indirect light (like a sunny windowsill with sheer curtains).
You'll see roots forming in 2-4 weeks—look for tiny white tendrils emerging from the cut end. Once roots reach 1-2 inches long, they're ready for soil. Don't wait too long, though. Roots over 3 inches can struggle to adapt when transplanted.
🪴 Step 3: Plant Rooted Cuttings in Soil
Fill a 5-gallon container or dig a hole in the garden 12-18 inches deep—willow roots love space to spread. Plant the cutting so the top node (where leaves would grow) sits just above soil level. This ensures new growth starts above ground while roots establish below.
Water deeply right after planting to settle the soil around the roots. Willow trees thrive in moist, well-draining soil, so keep the area consistently damp (but not soggy) for the first month. You'll know it's working when you see new leaves unfurling within 2-3 weeks—that's your signal the cutting has taken!
☀️ Step 4: Provide Sun and Maintenance
Willows adore full sun to partial shade—plant them where they'll get at least 6 hours of sunlight daily. If your climate is hot and dry, provide afternoon shade during the first summer to help them establish. Water deeply once a week (or more often in extreme heat), focusing on the root zone rather than sprinkling leaves.
Fertilize lightly in spring with a balanced, slow-release fertilizer to encourage strong growth. Avoid heavy feeding—they prefer nutrient-rich soil but can handle poor conditions once established. Prune back any dead or weak growth in early spring to encourage a bushier shape.
⏰ Step 5: Monitor Growth and Transplant if Needed
Check for pest damage (like aphids) or fungal spots on leaves monthly. Willow trees are generally hardy, but overwatering can lead to root rot. If your cutting grows taller than 6 feet in its first year, it's time to transplant it to a permanent spot in the garden or a larger container.
Here's the best part: willow cuttings grow fast. Within 2-3 years, you'll have a mature tree ready to provide shade, erosion control, or even privacy screening. The key is patience—rooting takes time, but once established, willows are low-maintenance powerhouses.
Tips & tricks for perfect willow cuttings planting
These simple tricks will help you avoid common pitfalls and maximize your willow cuttings' success rate.
Timing Secret: In Step 1, when gathering your 4-6 foot long cuttings, focus on early spring timing—just as buds begin to swell but before leaves emerge. This window gives you the best balance of freshness and dormancy. I've found that cuttings taken too early (deep winter) may not root as vigorously, while those taken too late (full leaf-out) can rot before establishing roots.
Water Management: During Step 2, when rooting in water, resist the urge to cover the entire cutting—just the bottom 2-3 inches submerged is perfect. Too much water exposure can lead to bacterial growth or even rot. I've seen cuttings develop mold when submerged deeper than recommended. Also, use room-temperature water; cold water can shock the cuttings and slow root development.
Soil Preparation: For Step 3, when planting in soil, mix in a handful of perlite or coarse sand into your garden soil to improve drainage. Willow roots need moisture but hate soggy conditions. I've had cuttings fail when planted in dense clay soil—they simply couldn't establish properly. A well-draining mix gives roots room to spread without waterlogging.
Transplanting Cues: In Step 5, when monitoring growth, pay attention to the 6-foot height marker as your signal for transplanting. But here's what nobody tells you—look at the root system too! If you see roots growing out of the bottom of your container, that's your real cue to transplant. The roots will continue growing downward once planted in deeper soil.
Pro Tips for Planting Willow Cuttings
- These simple tricks will help you avoid common pitfalls and maximize your willow cuttings' success rate.
- Timing Secret: In Step 1, when gathering your 4-6 foot long cuttings, focus on early spring timing—just as buds begin...
- Water Management: During Step 2, when rooting in water, resist the urge to cover the entire cutting—just the bottom 2...
Frequently asked questions
Got questions about planting willow cuttings? You’re not alone—this method can seem tricky at first! Below, we’ve gathered the most common queries to help you grow confident and avoid pitfalls. Whether you’re wondering about timing, tools, or troubleshooting, we’ve got you covered.
When is the best time to plant willow cuttings?
The ideal time to plant willow cuttings is in early spring or late winter, before new growth starts. This gives the cuttings time to root before the growing season kicks in. If you miss this window, you can still try in early fall, but success rates drop slightly. Avoid planting in extreme heat or frost.
How long does it take for willow cuttings to root in water?
Willow cuttings typically root in water within 2–4 weeks, depending on temperature and light. Keep them in warm (65–75°F), indirect sunlight and change the water every 3–4 days to prevent bacteria. Once you see 1–2 inches of roots, they’re ready to transplant to soil!
Do I need special tools to plant willow cuttings?
Not necessarily! Basic tools like sharp pruners, a container with water, and well-draining soil are all you need. Optional but helpful items include a rooting hormone (speeds up growth), a humidity dome (for soil planting), and a thermometer (to monitor water temp). Start simple—you’ll learn what works best over time.
What if my willow cuttings rot instead of rooting?
Rotting is usually caused by bacteria or fungus in stagnant water or overcrowded cuttings. To prevent this:
- Use fresh, clean water (rainwater or filtered tap water works best).
- Trim cuttings to 4–6 inches with clean pruners.
- Change water every 3–4 days and keep the container clean.
- Ensure cuttings aren’t submerged too deeply—only the bottom 1–2 inches should touch water.
Can I plant willow cuttings directly in soil without rooting in water first?
Yes! While rooting in water is the easiest method, you can plant cuttings directly in soil if you:
- Use moist, well-draining soil (sandy loam works well).
- Plant at a 45-degree angle, burying 1/3 of the cutting.
- Keep soil consistently moist (not soggy) and provide high humidity (use a plastic bag or dome).
- Choose a warm, shaded spot until roots establish (4–6 weeks).
Pro Tip:
Label your cuttings! Willow varieties can look similar, and labeling helps track growth habits, color, or size differences. Use waterproof plant tags or a simple stick with a marker—you’ll thank yourself later when you’re admiring your thriving willow grove!
Wrapping up and next steps
Planting willow cuttings is a rewarding way to grow these fast, versatile trees—but success starts with patience and the right prep! 🌱 By rooting your cuttings in water first, you’ll give them the best chance to thrive before they meet the soil.
Whether you’re restoring a landscape, creating a living fence, or simply experimenting with propagation, this method makes it easy and efficient.
Now that you’re armed with the knowledge, give it a try! Grab those cuttings, follow the steps, and watch your willow grow. Ready for the next step? Share your progress or ask questions in gardening forums—your fellow green thumbs will love to see (and learn from) your journey! 🌿