Trees
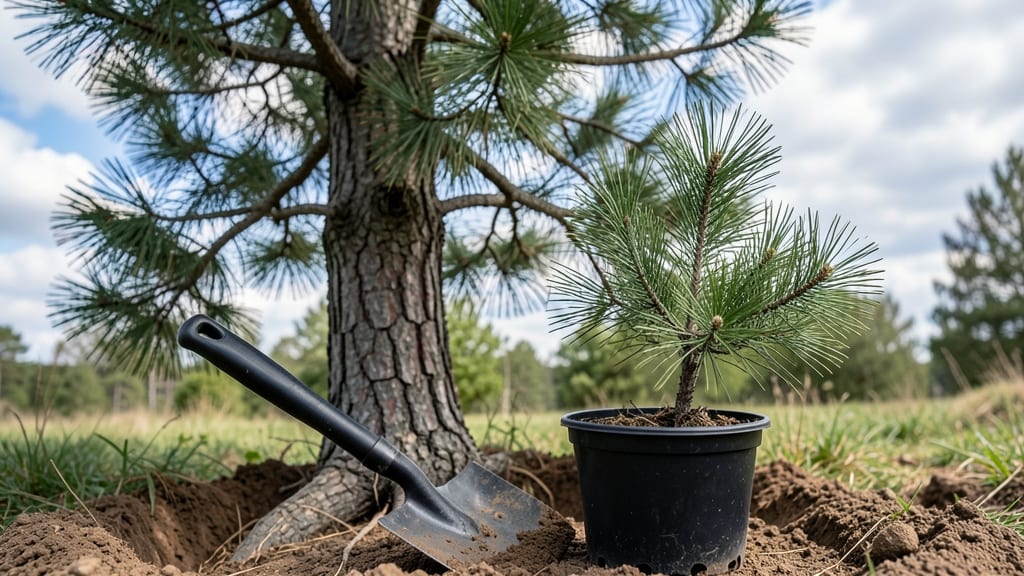
Planting evergreen trees transforms your yard into a lush, year-round sanctuary that never loses its charm. 🌲 I’ve planted dozens over the years, and the key to success lies in spacing, soil prep, and choosing the right species for your climate—mistakes that turn a promising sapling into a struggling understory plant.
The right placement means your evergreens won’t crowd each other or shade out sun-loving plants below, while proper spacing ensures they grow strong and healthy for decades.
You’ll need basic tools—a shovel, gloves, and a wheelbarrow for soil amendments—and a clear plan for where each tree will go. Evergreens thrive in well-draining soil, so test your site before planting.
Most varieties prefer 6 to 10 feet of spacing between trees, but larger species like pines or cedars need 15 to 20 feet to avoid competition. The first year is critical: consistent watering and mulching keep roots stable, while proper pruning sets the stage for a full, symmetrical shape.
By the end of the first growing season, you’ll see thick, vibrant foliage that stays green even in winter. The right evergreens add texture, height, and privacy to your landscape while requiring less maintenance than many other trees.
Whether you’re lining a driveway, creating a windbreak, or adding focal points, these trees deliver long-term beauty with minimal fuss—once they’re established, they’ll reward you for years.
This guide covers everything from climate-specific species to seasonal care tips, so you can avoid common pitfalls like overwatering or planting too close to structures. Let’s get those roots in the ground the right way—your future self will thank you for the shade and serenity these trees provide.
📚 In This Guide
- What you need
- Instructions
- Tips and common mistakes
- Wrapping up and next steps
What you need
- ● Evergreen tree seedlings or saplings: Choose 2–5 (depending on spacing goals) of the same species (e.g., Pinus, Juniperus, or Thuja). Opt for 1–3 gallon containers for mature trees or 1-gallon pots for smaller varieties.
- ● Shovel or spade: A round-point shovel (16–18 inches wide) for digging holes efficiently.
- ● Garden fork or tiller: To loosen compacted soil (especially in clay-heavy areas).
- ● Measuring tape: For precise spacing (aim for 6–10 feet apart for medium-sized evergreens, adjust for dwarf varieties).
- ● Native soil or potting mix: 1–2 bags (50 lbs each) of well-draining compost or peat-based mix (avoid heavy clay unless amended).
- ○ Mulch (optional but recommended): 2–3 bags (2 cubic feet each) of pine straw, bark chips, or shredded leaves to retain moisture and suppress weeds.
- ● Watering can or hose with nozzle: A soaker hose or gentle spray attachment to avoid displacing soil.
- ● Garden gloves: Heavy-duty to protect hands from thorns (e.g., Juniperus) or rough bark.
- ● Tree stakes & twine: For young, top-heavy trees (e.g., Picea spruces) to prevent wind damage.
- ● Root stimulator: A powder or liquid (e.g., Mycorrhizal fungi) to boost root growth.
- ● Soil pH test kit: Evergreens prefer acidic to neutral soil (pH 5.0–7.0); amend with sulfur or lime if needed.
- ● Tree guard or wire mesh: To protect saplings from deer or rabbits (🐇🚫).
- ● Post-planting fertilizer: Slow-release 10-10-10 or 20-20-20 (avoid high-nitrogen until roots establish).
Step-by-Step guide to planting evergreen trees for lasting landscape impact
Here’s the method I’ve used to establish evergreens that thrive year-round—no guesswork, just proven spacing and planting techniques.
🌱 Step 1: Choose the Right Location and Prepare the Soil
Evergreens need full sun to partial shade, depending on the species. Most thrive in at least 6 hours of direct sunlight daily, but some like rhododendrons tolerate dappled shade. Test your site by observing sunlight patterns for a week—mark the sunniest spots with flags. Avoid low-lying areas where cold air settles, as this can stress young roots.
Use a shovel and garden fork to loosen the soil to a depth of 12-18 inches—evergreens have deep root systems that need room to establish. Amend the soil with 2-3 inches of organic matter like compost or aged manure if your soil is heavy clay or sandy. Test drainage by digging a hole and filling it with water; if it drains in under 30 minutes, the site is safe. If water pools after an hour, raise the planting area with a mound or amend with coarse sand.
🪴 Step 2: Dig the Planting Hole and Handle the Root Ball Carefully
Dig a hole twice as wide as the root ball but no deeper—evergreens struggle if buried too deeply, which can suffocate roots. The top of the root ball should sit 1-2 inches above ground level to prevent waterlogging. Gently tease the roots outward if they’re circling tightly in the container, using your fingers or a garden fork. This encourages outward growth instead of root-bound stress.
Remove the tree from its container and place it in the hole, ensuring the root flare (where roots meet the trunk) is visible above the soil line. Fill the hole with native soil, tamping lightly every 2-3 inches to eliminate air pockets. Avoid compacting too hard—you want firm but not dense soil. Water deeply to settle the soil around the roots, using 5-10 gallons depending on the tree size.
☀️ Step 3: Mulch and Water for Long-Term Establishment
Spread 3-4 inches of mulch (like pine straw or wood chips) in a 3-inch-wide ring around the base, keeping it 6 inches away from the trunk to prevent rot. Mulch retains moisture and regulates soil temperature, which is critical for evergreens in hot climates. Avoid piling mulch against the trunk—this traps moisture and invites pests.
Water deeply twice weekly for the first month, then taper to once weekly once new growth appears. Evergreens need 1-1.5 inches of water per week, but adjust for rainfall. You’ll know the roots are establishing when the tree shows new growth in spring and the needles remain vibrant year-round. Avoid overhead watering in winter, as wet foliage can lead to fungal issues.
✂️ Step 4: Prune and Monitor for Healthy Growth
Prune only to remove dead, damaged, or crossing branches in the first year—never "thin" an evergreen for shape. Use clean, sharp pruners to make cuts just outside the branch collar. Avoid heavy pruning, as evergreens grow slowly and can take years to recover. Focus on removing branches that rub against each other or grow inward.
Monitor for pests like spider mites or bagworms, which thrive on stressed evergreens. Treat infestations early with neem oil or insecticidal soap, applied in the early morning or evening to avoid harming beneficial insects. Fertilize lightly in early spring with a balanced, slow-release fertilizer (10-10-10) if the soil is poor, but avoid over-fertilizing—evergreens prefer lean soil and can suffer from excessive nutrients.
Tips & tricks for perfect evergreen tree planting
Planting evergreens for lasting beauty takes more than just digging a hole—these proven strategies will help you avoid common pitfalls and ensure your trees thrive for decades.
Soil Preparation: Don't skip the drainage test in Step 1! After digging your hole and filling it with water, if it drains in under 30 minutes, you're good to go. But if water pools after an hour, consider creating a raised bed with a mound of native soil mixed with coarse sand. This prevents root rot, which is especially critical for evergreens that hate soggy conditions. I've seen too many beautiful trees fail because of poor drainage.
Root Ball Handling: In Step 2, when teasing the roots outward, be gentle—you're not trying to break them, just encourage outward growth. For container-grown trees, I recommend soaking the root ball in water for 10-15 minutes before planting. This helps rehydrate roots that may have dried out during transport. The goal is to minimize transplant shock while maintaining that crucial root flare visibility above ground level.
Mulching Strategy: That 3-4 inch mulch ring in Step 3 isn't just decoration—it's your tree's insulation system. Use pine straw for southern climates or wood chips for cooler regions, but always keep it 6 inches from the trunk. I've found that mulching too close creates moisture traps that invite fungal diseases. For extra protection in winter, add a 2-3 inch layer of mulch after the first frost—this acts like a blanket for young roots.
Watering Wisdom: The twice-weekly watering in Step 3 is non-negotiable for the first month, but here's the secret: water deeply until you see moisture come out the bottom of the hole. Use a garden hose with a slow setting or a watering can—this ensures the water penetrates to those deep root systems. I've seen many gardeners give up too soon because they weren't watering deeply enough to establish those roots properly.
Pro Tips for Planting Evergreen Trees
- Planting evergreens for lasting beauty takes more than just digging a hole—these proven strategies will help you avoi...
- Soil Preparation: Don't skip the drainage test in Step 1! After digging your hole and filling it with water, if it dr...
- Root Ball Handling: In Step 2, when teasing the roots outward, be gentle—you're not trying to break them, just encour...
Frequently asked questions
Got questions about planting evergreen trees? You’re not alone—these hardy beauties bring year-round color, but they come with their own quirks. Here are answers to the most common queries to help you plant with confidence!
What’s the best time of year to plant evergreen trees?
The ideal window is early fall or late winter (before bud break). Evergreens benefit from cooler temps and soil moisture, which helps roots establish before summer heat. Pro tip: Avoid planting in extreme heat or frost—root stress leads to poor growth.
How close can I plant evergreens to my house or fence?
Space matters! Keep evergreens at least 5–10 feet from structures (closer for dwarf varieties). Larger species need 15–25 feet for mature spread. Check your tree’s tag for growth projections—crowding can stunt roots or damage foundations.
Do evergreens need special watering after planting?
Yes! Water deeply 2–3 times per week for the first year (1–1.5 inches per session). Mulch 2–3 inches around the base (keep it away from the trunk) to retain moisture. Warning: Overwatering suffocates roots—let soil dry slightly between waterings.
Can I plant evergreens in containers or small spaces?
Dwarf varieties (like ‘Blue Rug’ Juniper or ‘Emerald Green’ Arborvitae) thrive in containers. Use fast-draining soil and repot every 2–3 years. For small yards, opt for slow-growing species—just ensure containers are at least 12 inches deeper than the root ball.
Why are my evergreen needles turning brown after planting?
Brown needles often signal transplant shock, drought, or sunburn. If it’s new growth, wait—older needles naturally drop. For sudden browning, check for underwatering, over-fertilizing, or pest damage (like spider mites). Prune dead branches and adjust care.
Are there evergreens that tolerate poor soil or drought?
Yes! Try Pine (Pinus spp.), Juniper (Juniperus), or Arborvitae (Thuja)—they’re drought-tolerant once established. For rocky/poor soil, ‘Sky Pencil’ Holly or ‘Dwarf Alberta Spruce’ are resilient picks. Tip: Amend soil with compost before planting for long-term health.
Wrapping up and next steps
Planting evergreen trees is a rewarding way to add year-round beauty, privacy, and value to your landscape—no green thumb required! 🌲 With the right spacing, soil prep, and variety, you’ll enjoy lush foliage that thrives in every season.
Whether you’re a beginner or a seasoned gardener, your evergreens are just a shovel’s depth away.
Ready to transform your outdoor space? Start by sketching your layout, gathering supplies, and picking a cloudy day to give your new trees the best possible start. Happy planting—your future shade (and curb appeal) will thank you!